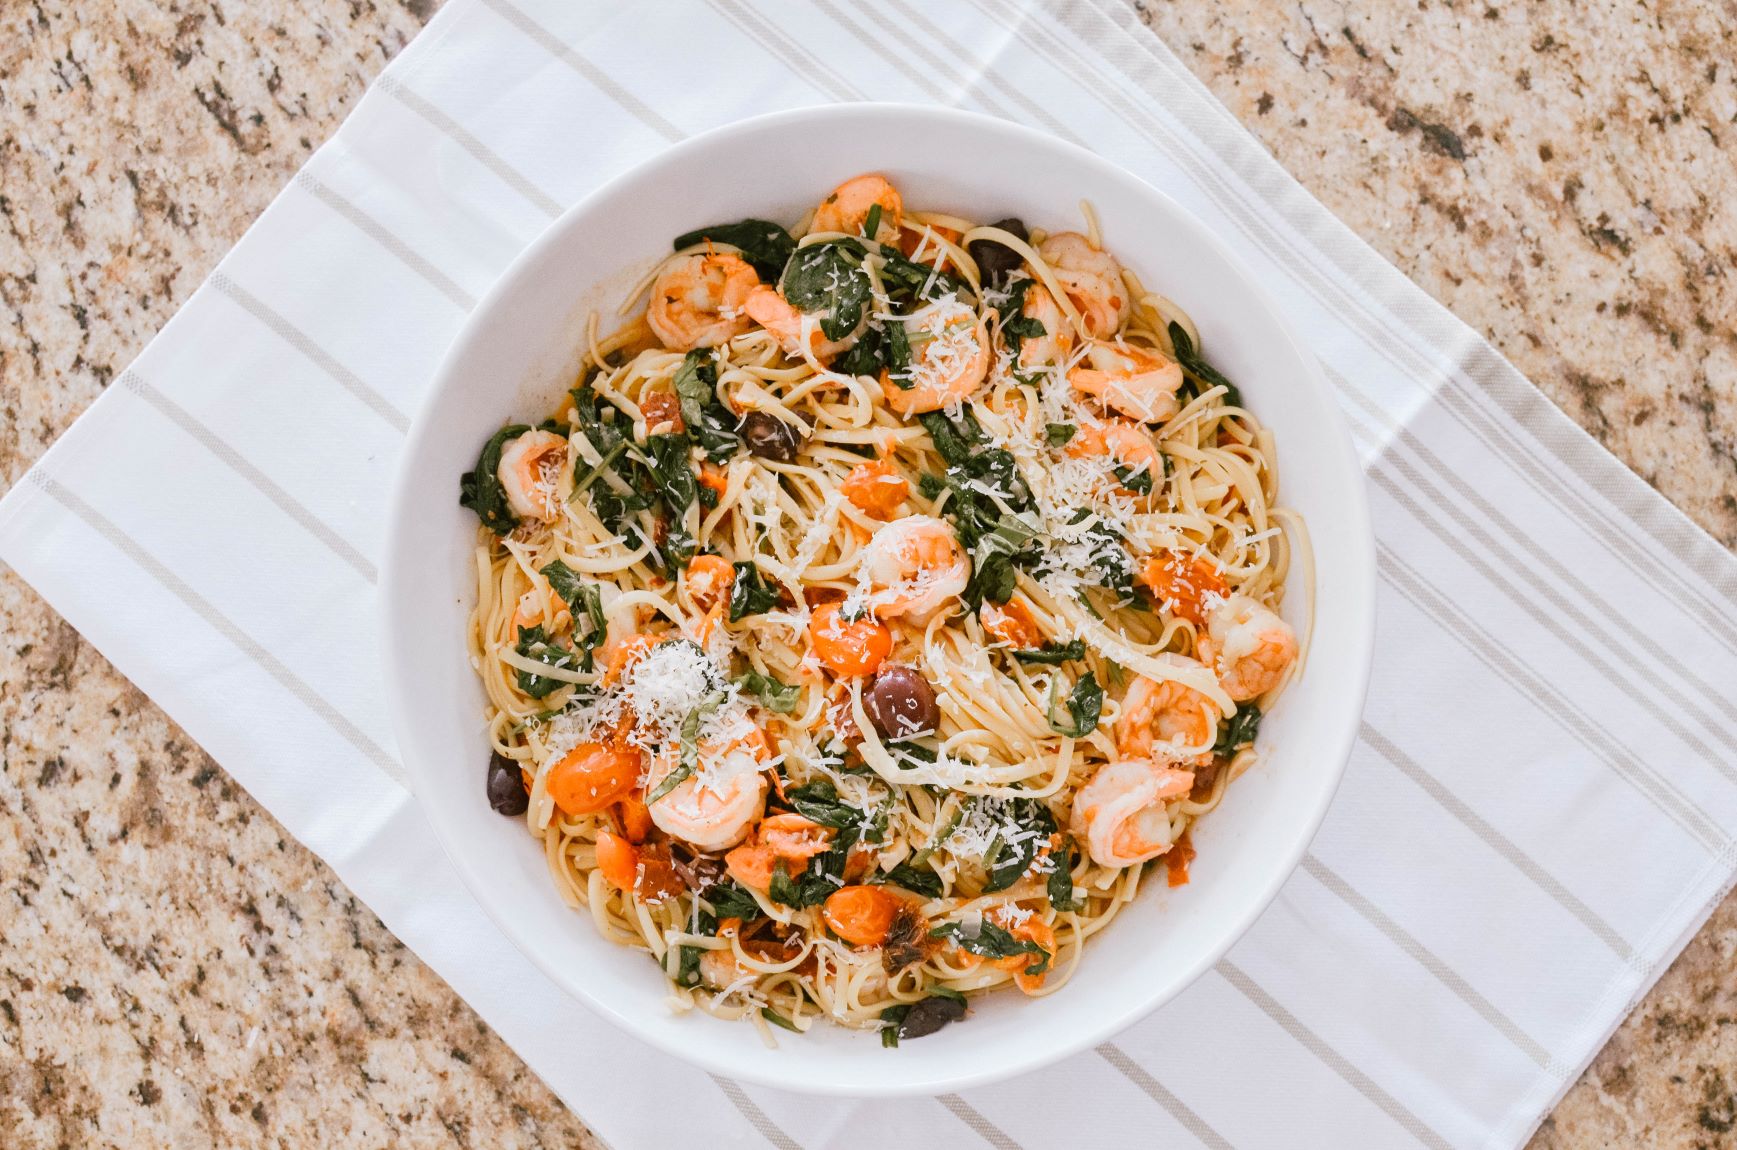
This post is sponsored by Mezzetta #Mezzetta #Mezzettamakesitbetta. All thoughts and opinions are mine. Yay! Spring has sprung! The kids are finally on spring break, with them being on remote learning, it also gives me a sense of relief. I am also on spring break too! Unfortunately, travelling around this time is not as easy as it was. So we just opted to stay home and do something creative for the day or maybe a short road trip. Something that would keep us busy and occupy our time. In this school break, I don’t really like to spend a lot of my time or my whole day in the kitchen but I still want a home cooked meal. So in times like this, easy and quick dinner is the way to go, especially on weeknights. I have to be efficient with my time to be more productive and also do some self-care. So today, I’m sharing with you a family favorite healthy recipe – Tomato Shrimp Pasta. Now, let’s get to it! For this recipe, I primarily used Mezzetta’s Sun-Ripened Dried Tomatoes and Mezzetta’s Pitted Greek Kalamata Olives to give that extra savory flavor. I swear, it’s so good! Preparation: It’s essential to use fresh ingredients for a very flavorful recipe. Time to Cook! Tips: After you drained the pasta, I suggest saving 1/2 cup pasta water just in case you want more liquid in the sauce. It’s optional and depends on your preference. 2. When cooking the fresh tomatoes, make sure it loses their shape. So the juices comes out thus gives it a more flavorful taste. 3. Gently mix the spinach and the pasta together. Tadah! All done. Doesn’t it look so good? I added fresh basil and grated parmesan cheese as garnish. It’s optional. There you go! That’s our weeknight dinner. I always make this recipe. It’s my go-to, especially on super busy days. You can order Mezzetta products on their website. Thank you so much for reading!
Sweet and Sour Chicken
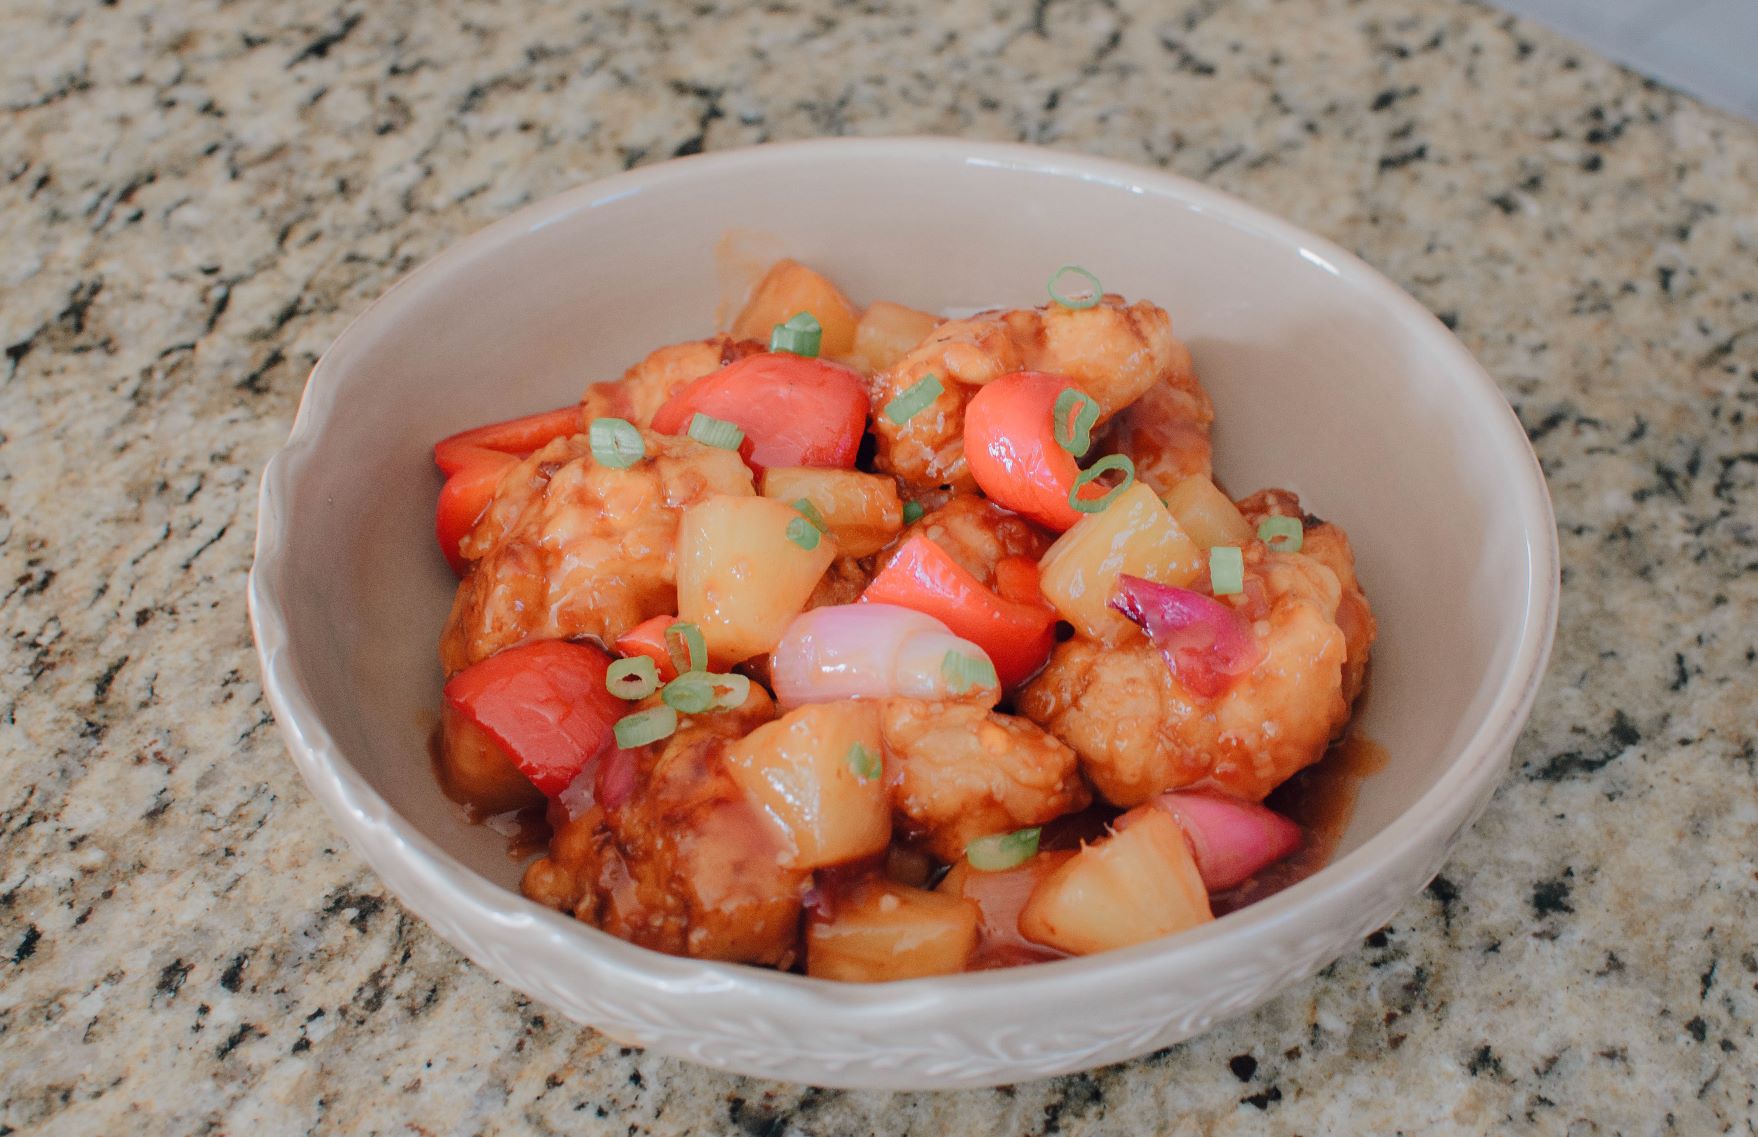
Another one of our household favorites, the Sweet and Sour Chicken. This is one of my go-to weeknight meal ideas and my family love it every time! I promise it tastes just like your favorite carryout and even healthier too, with no preservatives, food coloring and all that stuffs. So follow me along! Just so you know, for sweet and sour sauce recipe, you can use it with pork, chicken, shrimp and even fish. That’s what I love about this sauce, you can pair it with any meat or seafoods. Now let’s get to it! Also, check out the photo below for the right consistency of the sauce. The secret to a perfectly made sweet and sour chicken, is the right amount of flavor and sauce consistency. It has to be thick. The sauce has to be thick like this, when it coats your spoon. You don’t need to deep fry your chicken. Just enough oil to coat the bottom and flip it, to cook the other side. About 2-3 minutes, it depends on your stove. Just make sure your chicken is cook through. The chicken should look like this. If you don’t have cornstarch and eggs or it’s not allowed in your diet, you can just use flour. It should still be crispy. Also, if you don’t like too much breading as well, flour is good enough too. I promise. Saute your vegetables gently, don’t over saute them. The sauce should coat your dish like this. Tada! Just about right. Perfect flavor and consistency with no added unwanted ingredients like preservatives and food coloring that you get from your favorite take-outs. Thank you so much for reading and if you get the chance to try this recipe, please leave me a review. I would love to read some feedbacks. Thank you so much!
Margherita Pizza Recipe
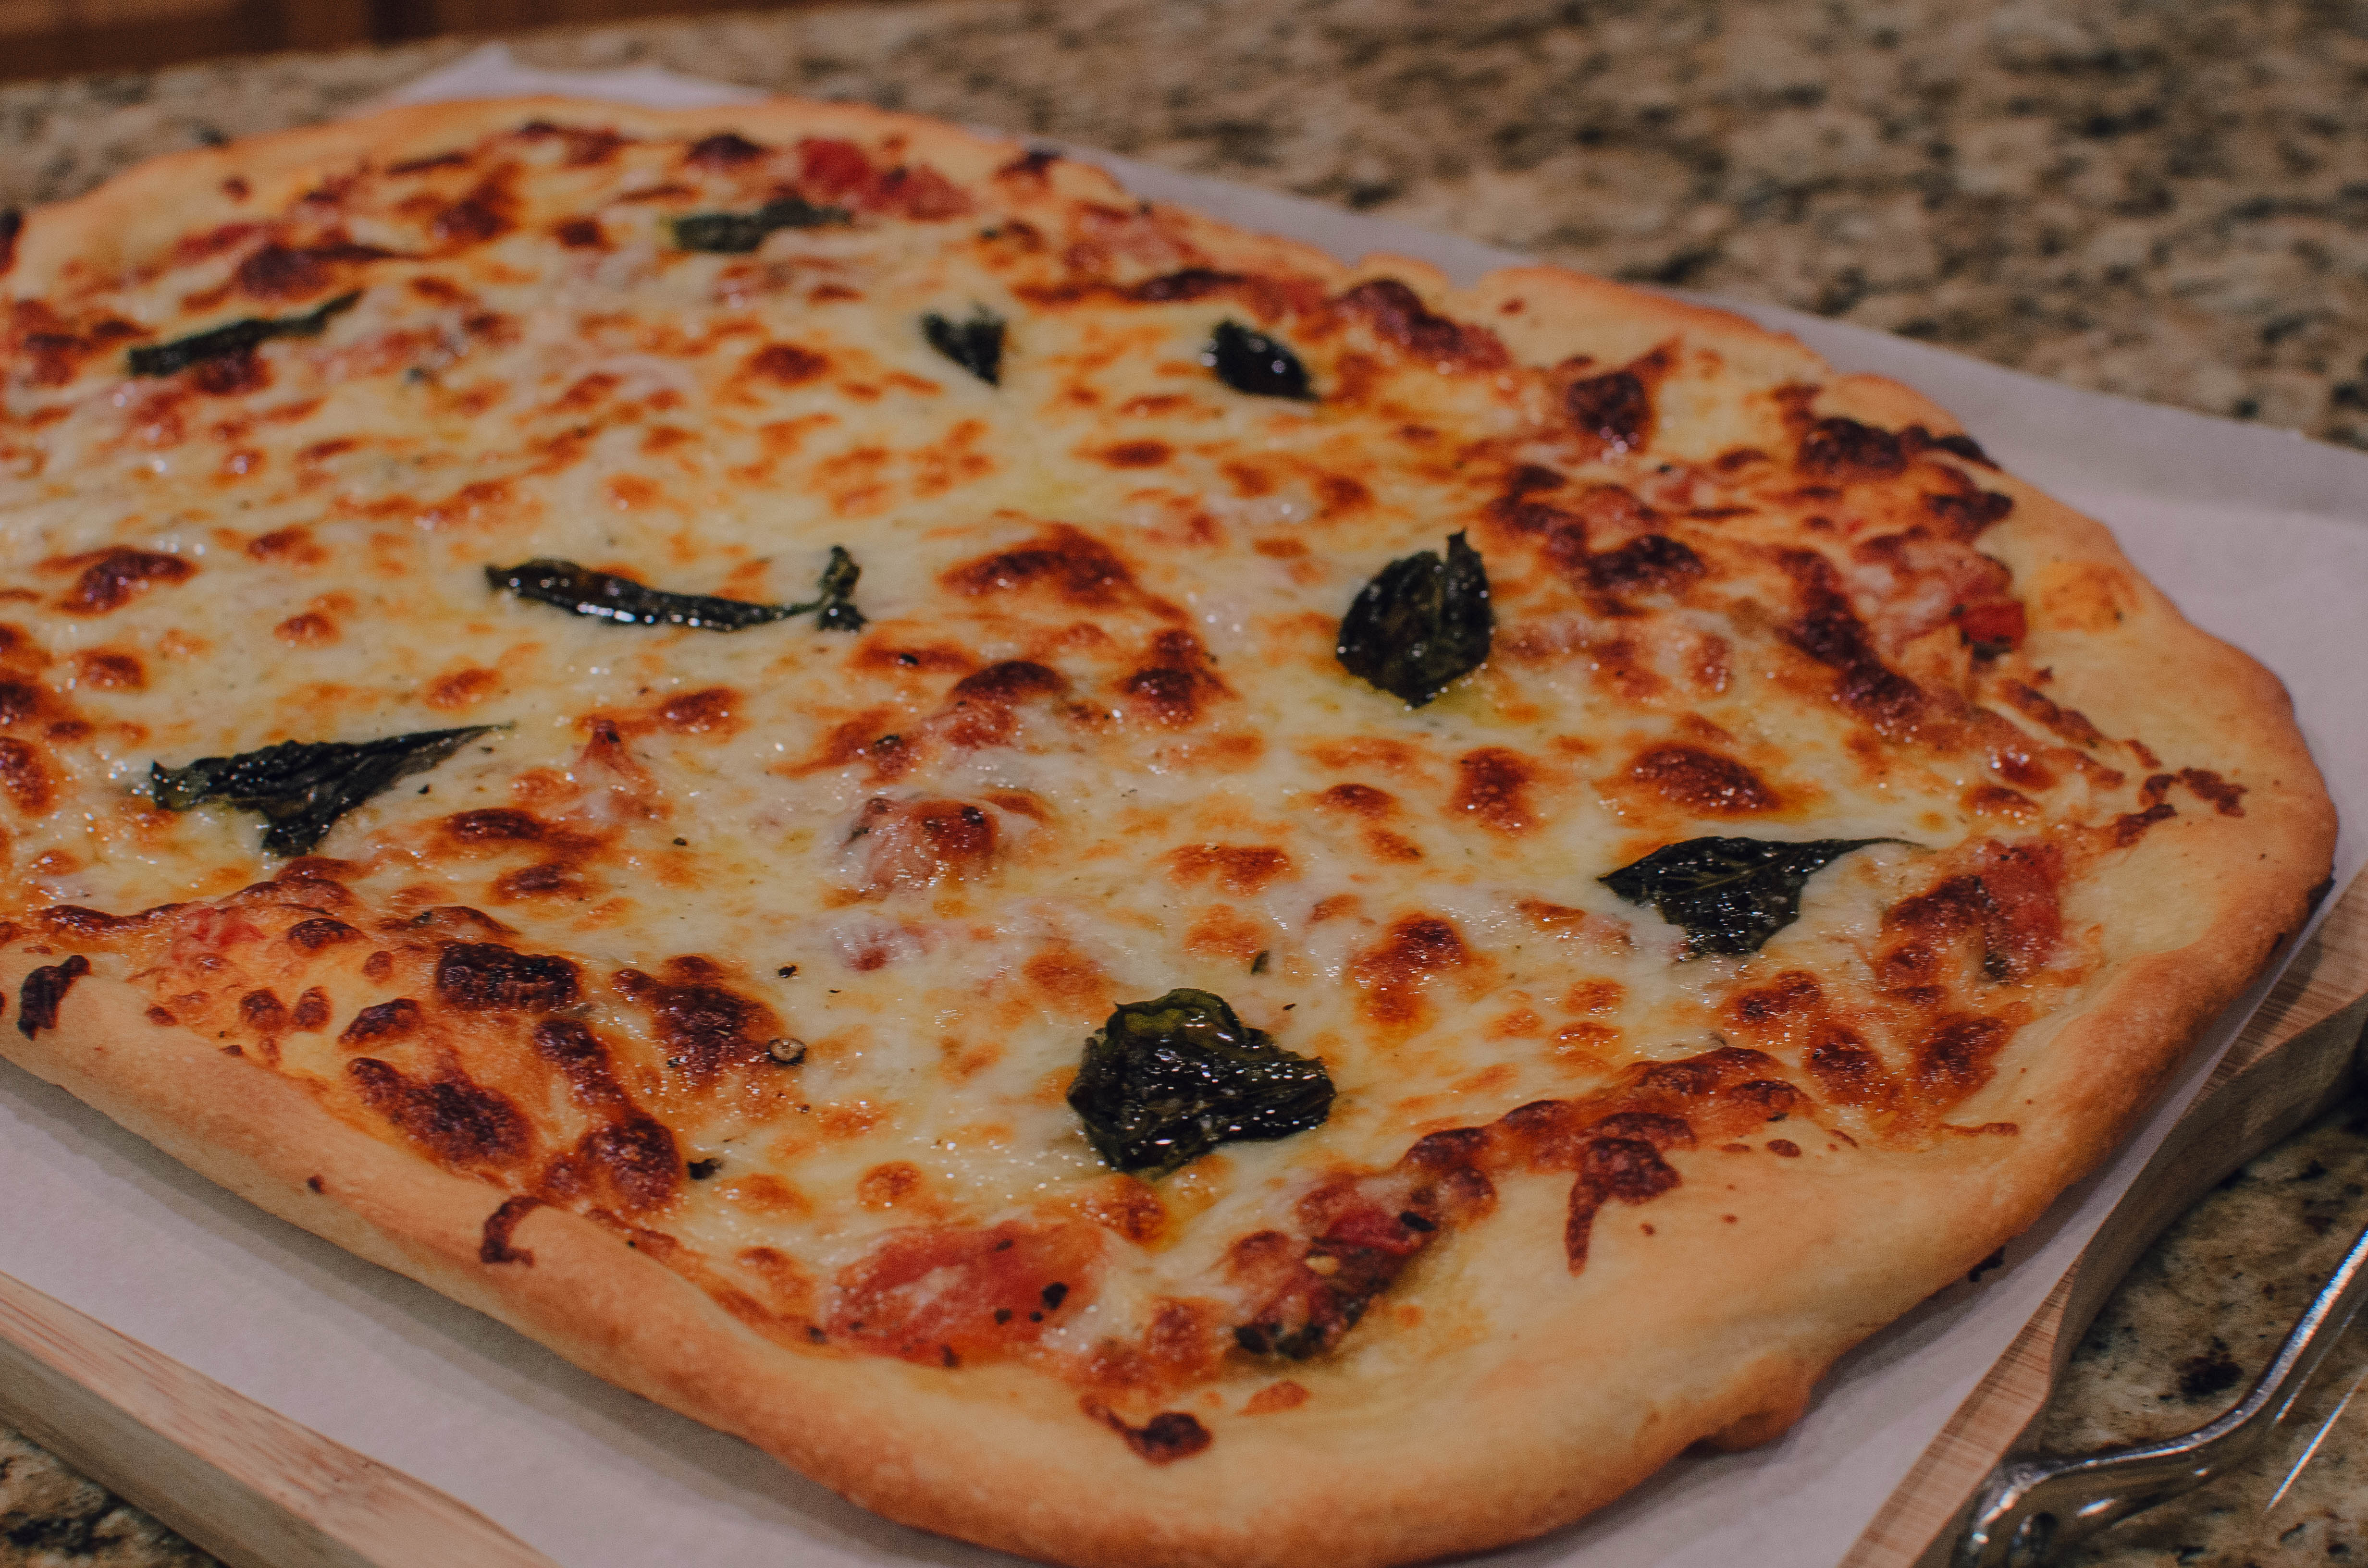
This Margherita pizza recipe is adapted from Tyler Florence from the show Tyler’s Ultimate at Food Network. Since quarantine, all I’ve been doing is cooking. Every single day ! I could not believe it myself either. I’ve never cooked so much in my entire until we were quarantined. No carry outs, yet. I’m not sure if I feel proud or feel sorry for myself hahaha because to be honest, your girl gets tired too. This quarantine period put me in a roller coaster of emotions. But anyway, I don’t want to sway the topic. I’ll talk about that sometime. Let’s stick with the recipe for now, because I have so much thoughts and emotions to share that it deserves it’s own special space. So let’s get to it ! To be honest, I was not a fan of vegan pizza. I want meat on my pizza, until I tried Margherita pizza in a restaurant somewhere in one of those small beach towns here in Michigan. Since then, when we go to a restaurant or do carry outs, we order Margherita pizza. There are different versions and the taste vary from each other. So it’s all about the basic ingredients and the style of cooking. If you don’t know, Margherita pizza is the original style of pizza in Italy. If you want to go back in time, the most authentic way to bake a pizza is in a brick oven. A lot of restaurants even nowadays still do that and if you are lucky to have one in your home, then lucky you! But right now, let’s make it in our electric kitchen oven. As I shared to you the recipe, let me give you some tips. These are very important for you to know before you proceed. Tips: As you preheat the oven 450 degrees F. Put the pan in the oven. When you are ready to assemble your pizza, take the pan out, drizzle the pan with olive oil and put your dough on the pan. Why do we need to do this? So you will have a crispy crust. When you assemble the dough on the pan, you don’t need a rolling pin. You put your dough on the pan and just try to spread it out until it covers almost the entire area of the pan. Ingredients are super important. I highly recommend your herbs to be fresh but if it’s not available, you can use dry herbs. Fresh tomatoes are the best, but if not available you can use canned tomatoes. Recommended: San Marzano If you don’t have a ball fresh buffalo mozarella, you can use shredded mozarella in packs. The good ones are from Costco and Gordon’s. We get our mozarellas there in bulk but a ball fresh buffalo is the original and authentic way for Margherita pizza. We are using shredded pizza here to make it kid friendly. Yes, my kids are quite picky. I’m easing them, including my husband to try new things. I wish I could have done a video but hopefully next time. I will leave a link on how Tyler Florence made it though. It’s very helpful and super easy. VIDEO HERE I know you would say, ” It’s so time consuming April! “. But homemade is always good for you. To be honest, I get tired of cooking everyday but it’s very rewarding afterwards, especially when it comes out exactly the way you want it. Also due to the fact, that you know what ingredients you put in, the food preparation and all that. Most of all, my family’s happy faces, the memories you create, you can’t beat that. Shop the Post JavaScript is currently disabled in this browser. Reactivate it to view this content.
Old Fashioned Peanut Butter Cookies ( only 3 ingredients )
super easy 3 ingredients peanut butter cookies
Chicken Adobo Recipe (Filipino Style)
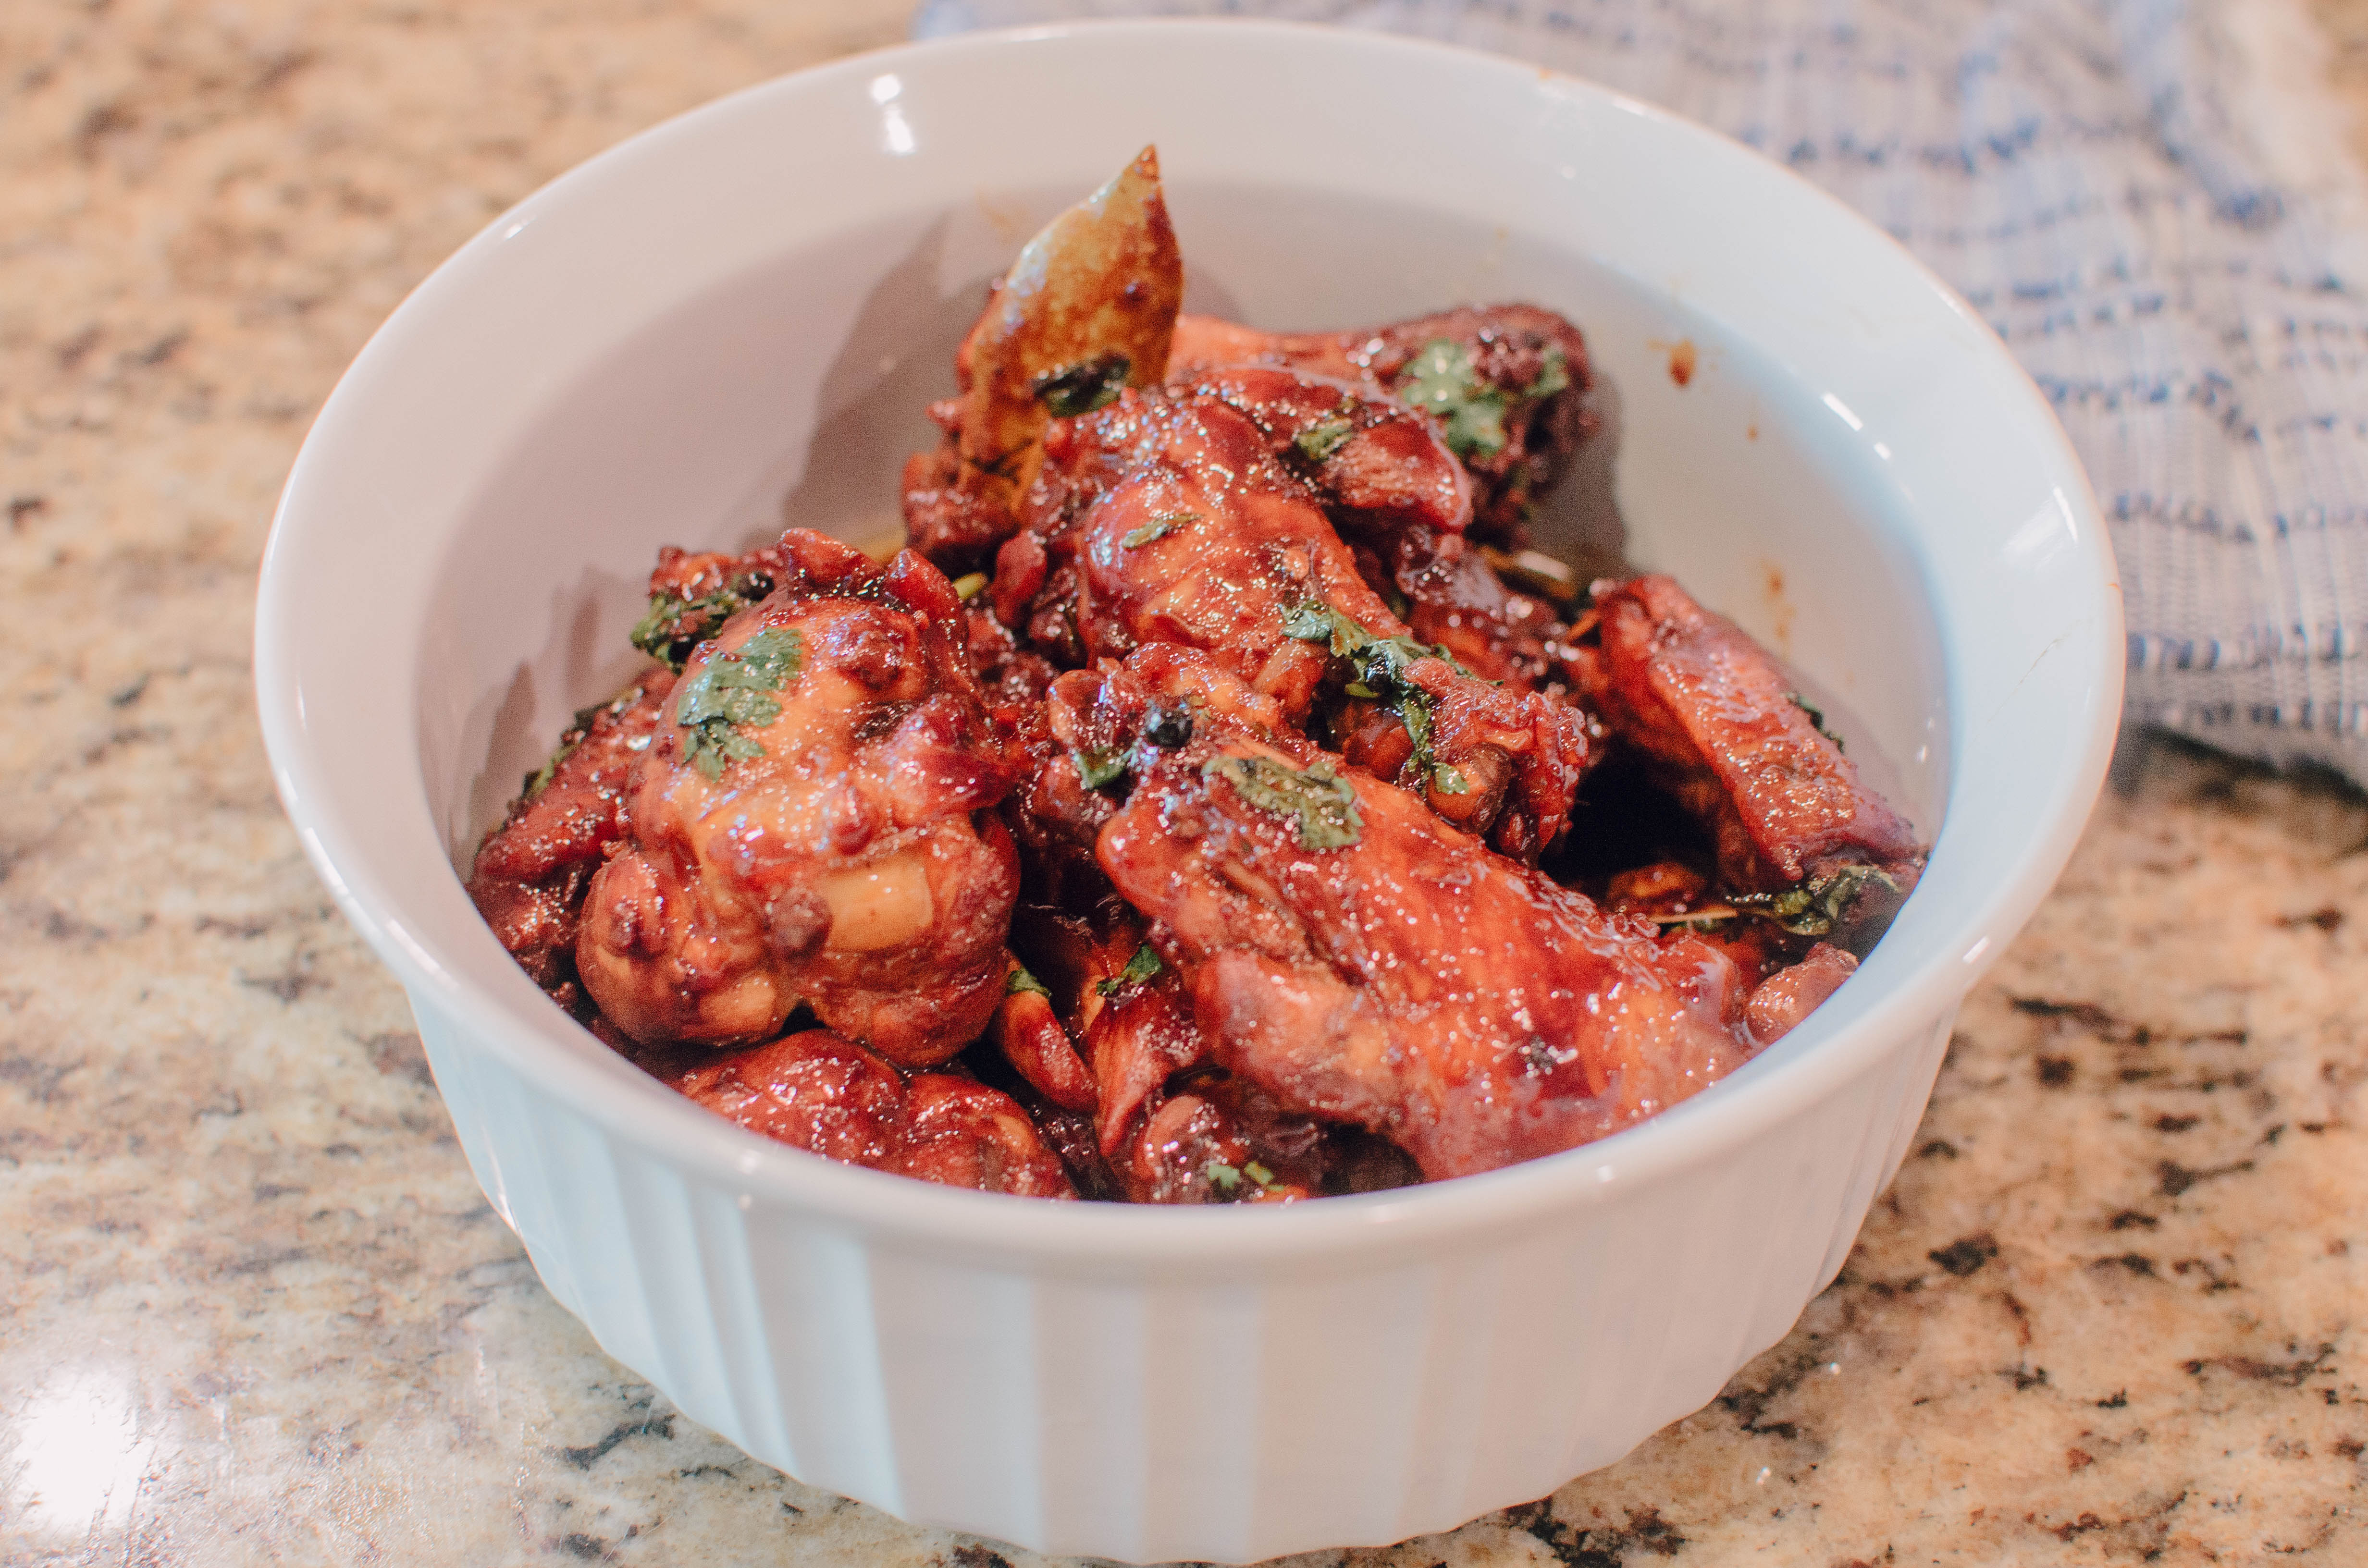
Adobo is a Filipino staple dish. It is because it is very versatile, you can use chicken, pork or both. Yes, you can even combine them. Also, it only needs very few ingredients and so easy to make. I’m sharing to you right now on how I make my Chicken Adobo. It surely is a hit when I host a gathering or when I bring it for Filipino pot luck. After you watch the video, read my cooking tips just to give you some guide before you print out the recipe down below. Cooking Tips: In my You Tube video I use 1 cup of soy sauce, it is still good by the way it wasn’t salty but you probably don’t want too much sodium content, that is also why i didn’t add any salt in the video. I suggest using 1/2 cup of soy sauce for 12 pcs. of chicken wings or thighs. Just add a pinch of salt during the cooking process if it’s not salty enough for your liking. When you simmer put your heat in medium low or low for 30 minutes ( it depends how your stove is set up) , once in awhile you check to make sure the chicken is cook through. Also, make sure the sauce is not reduced too much but also not too soupy. I preferably don’t want to add water because I want the sauce to be thick and caramelized. I know that sometimes the sauce get reduce so much, just add 1/4 cup water. The secret of Adobo is to perfect the balancing act. If you have any questions, don’t hesitate to comment or message me. I’d be glad to help you. Thank you so much for reading. Have great day and let me know what you think !
Thanksgiving Charcuterie Centerpiece
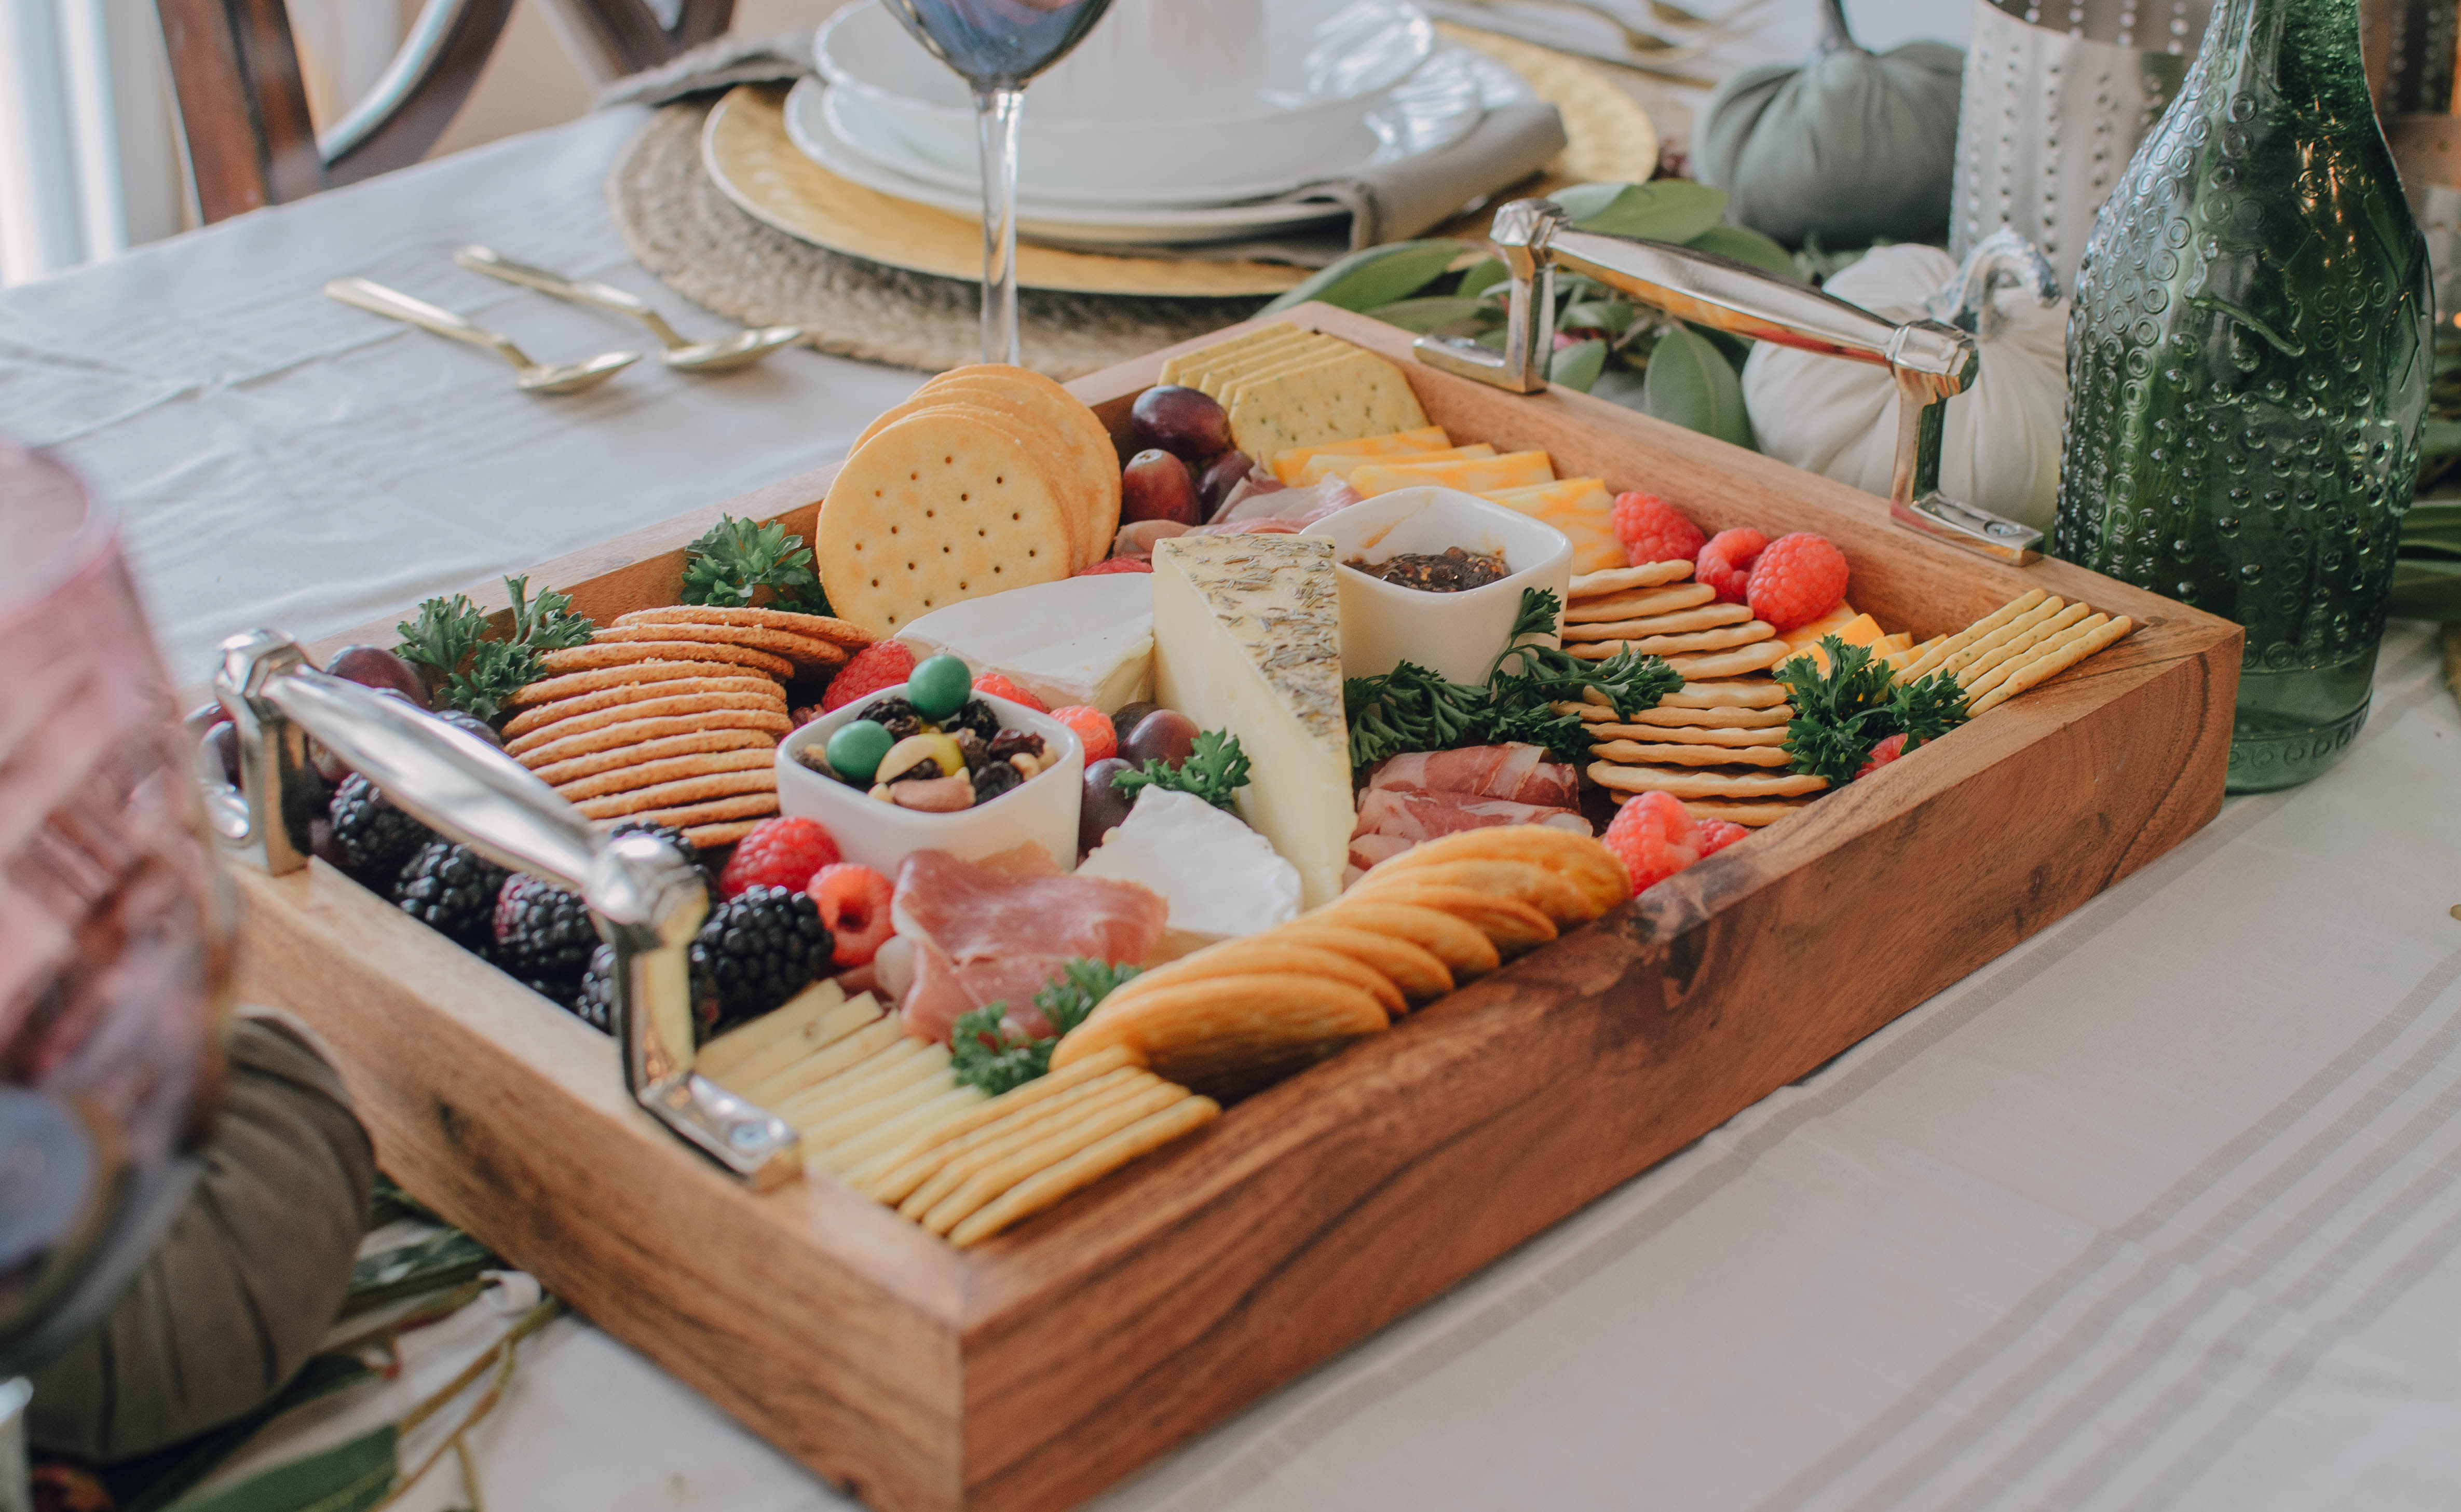
The holidays are coming ! I can’t believe Thanksgiving is next Thursday ! Did you made plans yet ? Are you dining out , dining in or hosting ? Either way, spending time with the family on Thanksgiving is always the best. In my case, I always host Thanksgiving ever since my first child was born. Me and my husband don’t have a big family. So at that time, we wanted to celebrate our baby’s first Thanksgiving in our new house. After that, we just keep hosting every holidays in our house year after year. Yes, I’m not gonna lie. It is exhausting but also rewarding. The memories we have in our humble home every holidays is beautiful and i’m very grateful. Also, I feel like i’m in charge when it comes to holiday entertaining. So i just accidentally took that role and when i do it, i sometimes go a little extra. I’m quite crafty when it comes to entertaining. So this year’s Thanksgiving, I would like to feature my Charcuturie board as my centerpiece. It’s like last year’s ( post here ) but different. I added more colors and jewel tones in this tablescape. I also want to keep the floral arrangements to be minimal or at least below eye level, that way it’s not hard to have a conversation to the person across the table. I want it to look nice but also practical and the charcuterie board is a perfect centerpiece for that reason. We all know that food is a natural conversation starter and good presentation is always delightful. Here’s a printable guide for creating your charcuterie board. To know where i got some of the items or similar look of this tablescape, you can check it out below. Shop the tablescape JavaScript is currently disabled in this browser. Reactivate it to view this content. JavaScript is currently disabled in this browser. Reactivate it to view this content. Thank you so much for reading and may you have a Happy Thanksgiving !
Patriotic Theme Tablescape + Citrus Infused Water Recipe
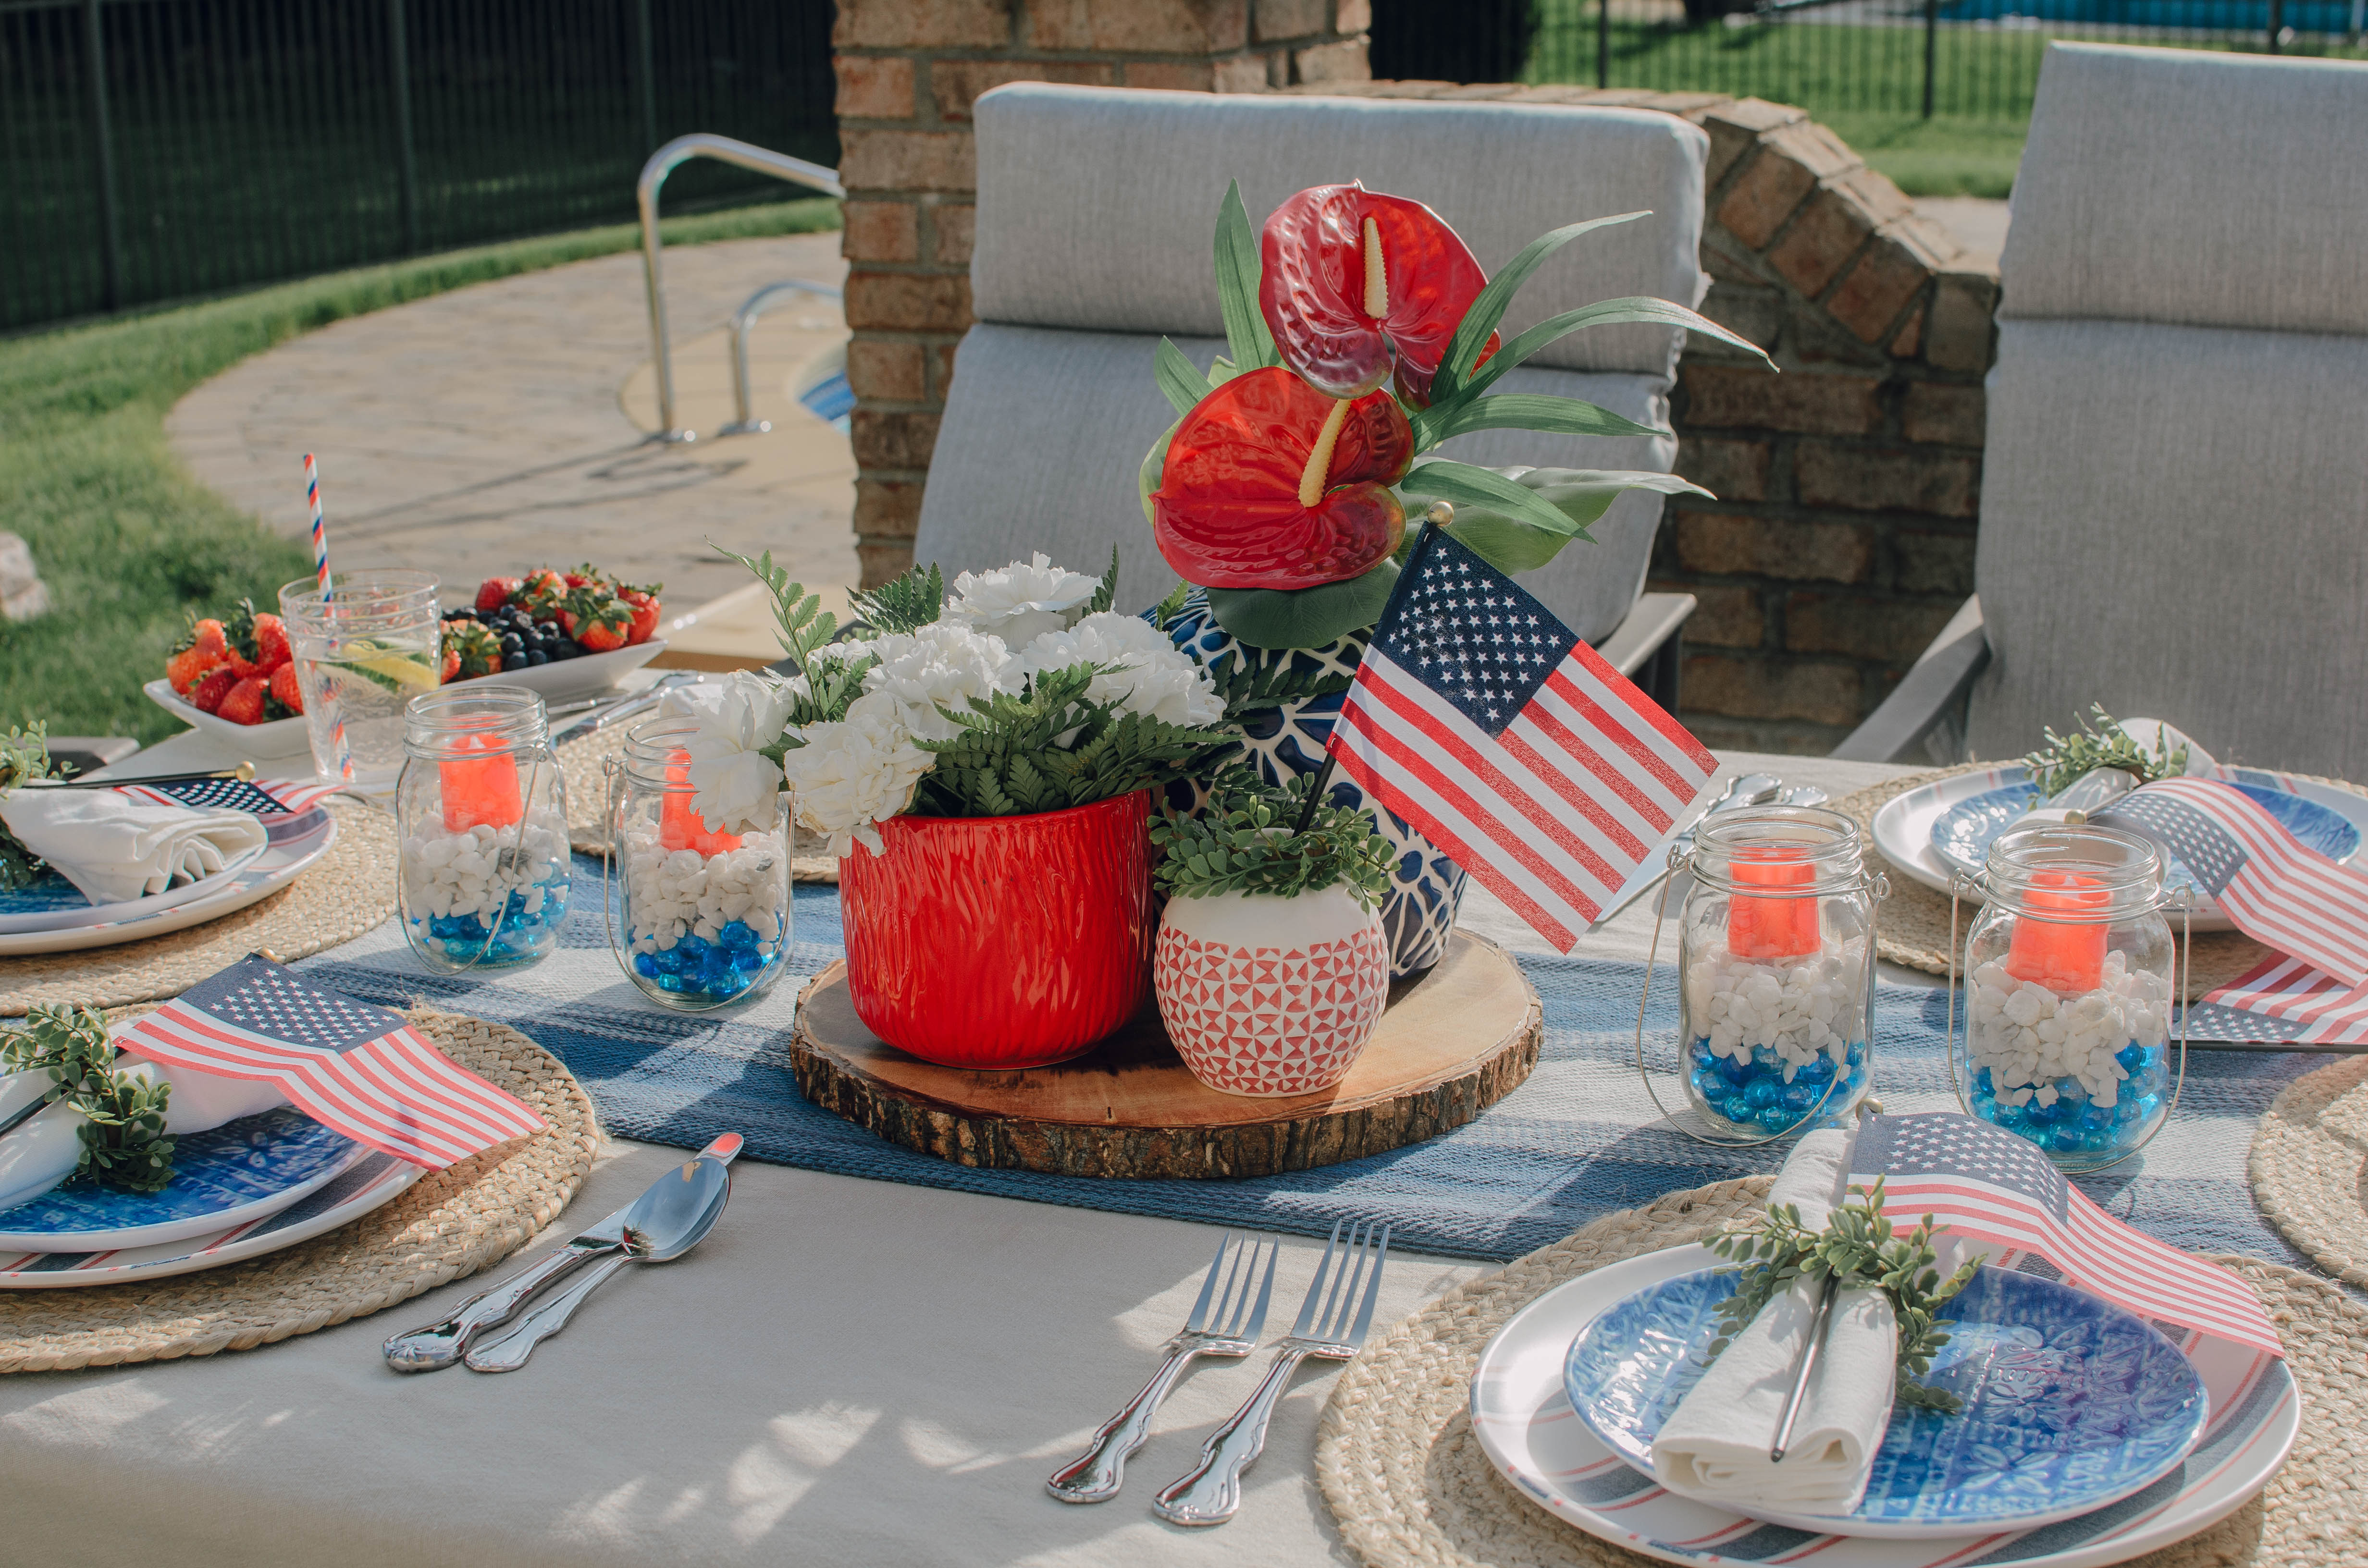
As I’m writing this post, it’s just about time for Memorial Day . So, Happy Memorial weekend and may you had a great one. Currently right now in Michigan, we have scattered thunderstorms but that didn’t stop us from grilling some hamburgers and hotdogs . Still a great day guys, trying to stay positive here. If you have been following me on the blog, you know I have quite an obsession with tablescapes and pretty much the concept of entertaining. Check out my previous post here. If you are new, Welcome to my little space and I’m so glad you are here today. I am honored. JavaScript is currently disabled in this browser. Reactivate it to view this content. Memorial theme tablescapes is pretty much straightforward patriotic theme which is inspired from the colors of the American flag red, white and blue. So i gathered all the American flag inspired colors and put them together. Did a little creativity to it and done. Dollar Store Find What really makes me excited in this tablescape is what i found at the Dollar Store. Who doesn’t want a good deal ? Anyway, i found these mason jar lanterns, blue pebbles, white rocks and red led candles at the Dollar Store. I put them all together by layering the pebbles, rocks and led candles. Viola ! A great outdoor centerpiece. Not bad at all ! The rest of the stuffs are from Target and some of them I’ve had it for years. Layering of Height for the Centerpiece For my main centerpiece, I layered vases and jars in varying heights on a bark of wood tray. That way it looks interesting together with their simple floral arrangements. It looks like a mini garden in patriotic theme. JavaScript is currently disabled in this browser. Reactivate it to view this content. All in the Details For the little details, pretty straightforward the American flag. I stuck it in between the napkin ring. I love this napkin ring by the way, it will serve many entertaining purposes. Grocery store bought cupcakes , very fancy ! Hey, it does a great job to make the table look more bountiful . I also love that the cake stand gives height on the tablescape. Yes to this last minute idea. Citrus Infused Water During summer I love my citrus infused water. It’s refreshing and hydrating. Shop the post : JavaScript is currently disabled in this browser. Reactivate it to view this content. Thank you so much for reading and have a great day!
5 Reasons Why We Love Blue Apron
If you have been following along my blog, you already knew I partnered with Blue Apron. If not and you wanted to know my first experience with them read it here . Without further introduction, here are the reasons why we love Blue Apron . 1. Convenient – I enjoy cooking but I don’t like grocery shopping and sometimes meal planning is so tasking especially when you have so many things going on in your head. There were times when Steve and I spend atleast a half hour just trying to figure out what to eat or what to make for dinner. If we can’t figure something out, we spend another half hour again figuring out where to eat and what each of us have a taste for. It gets kinda stressful and frustrating sometimes and the result ? We end up opening a box of cereal for dinner. That’s why it is always important for me to do a weekly meal plan and with Blue Apron, meal planning and grocery shopping is convenient and stress free. You get to pick which menu/recipes you want for that week, they gather the ingredients for each recipes and delivered to your door, sealed and fresh. For me, there is nothing more convenient opening a box filled with fresh ingredients and all organized accordingly.
My Christmas Tablescape and Easy to Make Christmas Treats
My Christmas table scape and Christmas treats post is obviously over due. As much as I want to get this post out before we went for our Christmas vacation, I never got the chance to get around to do it. I was so busy preparing,planning and getting stuff done before our trip. My ultimate plan while on vacation is to blog while they were sleeping. Obviously, that never happened and every night I was out like a light bulb. So I decided to take the pressure off myself and unplug for the holidays. I just wanted to enjoy the vacation with the family and not worry about my numbers and statistics. It was refreshing and it’s just what I needed. Blogging could get overwhelming at times. I really don’t have time, but I make time for it because I love to blog! I like to share and cultivate that style of creating contents and also the business side of it. Who knows how long I will keep doing this but I am hoping and trying for the best. Since we are going for a Christmas vacation for the first time, we decided to celebrate Christmas with the family before we leave. We prepared and eat dinner, exchanged gifts, and just enjoying our time together. I always love gatherings! I went for the traditional theme this year. Red, gold and green for Christmas, you can’t get more festive than that. I like the style of layering a satin camisole over a sweater. Hello 90’s! I’m glad the trend is back again. Easy to Make Christmas Treats These treats are super duper is easy to make and as always, you can make it with your kids. I love to have my kids involved when I do stuffs like these for the holidays. I want them to remember it as our bonding moment. That’s why I picked easy to do treats, that way It’s less risky to messed up and If we messed up, it’s okay! I am sharing you how to make it and I hope you will enjoy it too. Thank you so much, see you around! Shop for a similar look: Shop the home:
The Classic Walnut Snowball Cookies Recipe
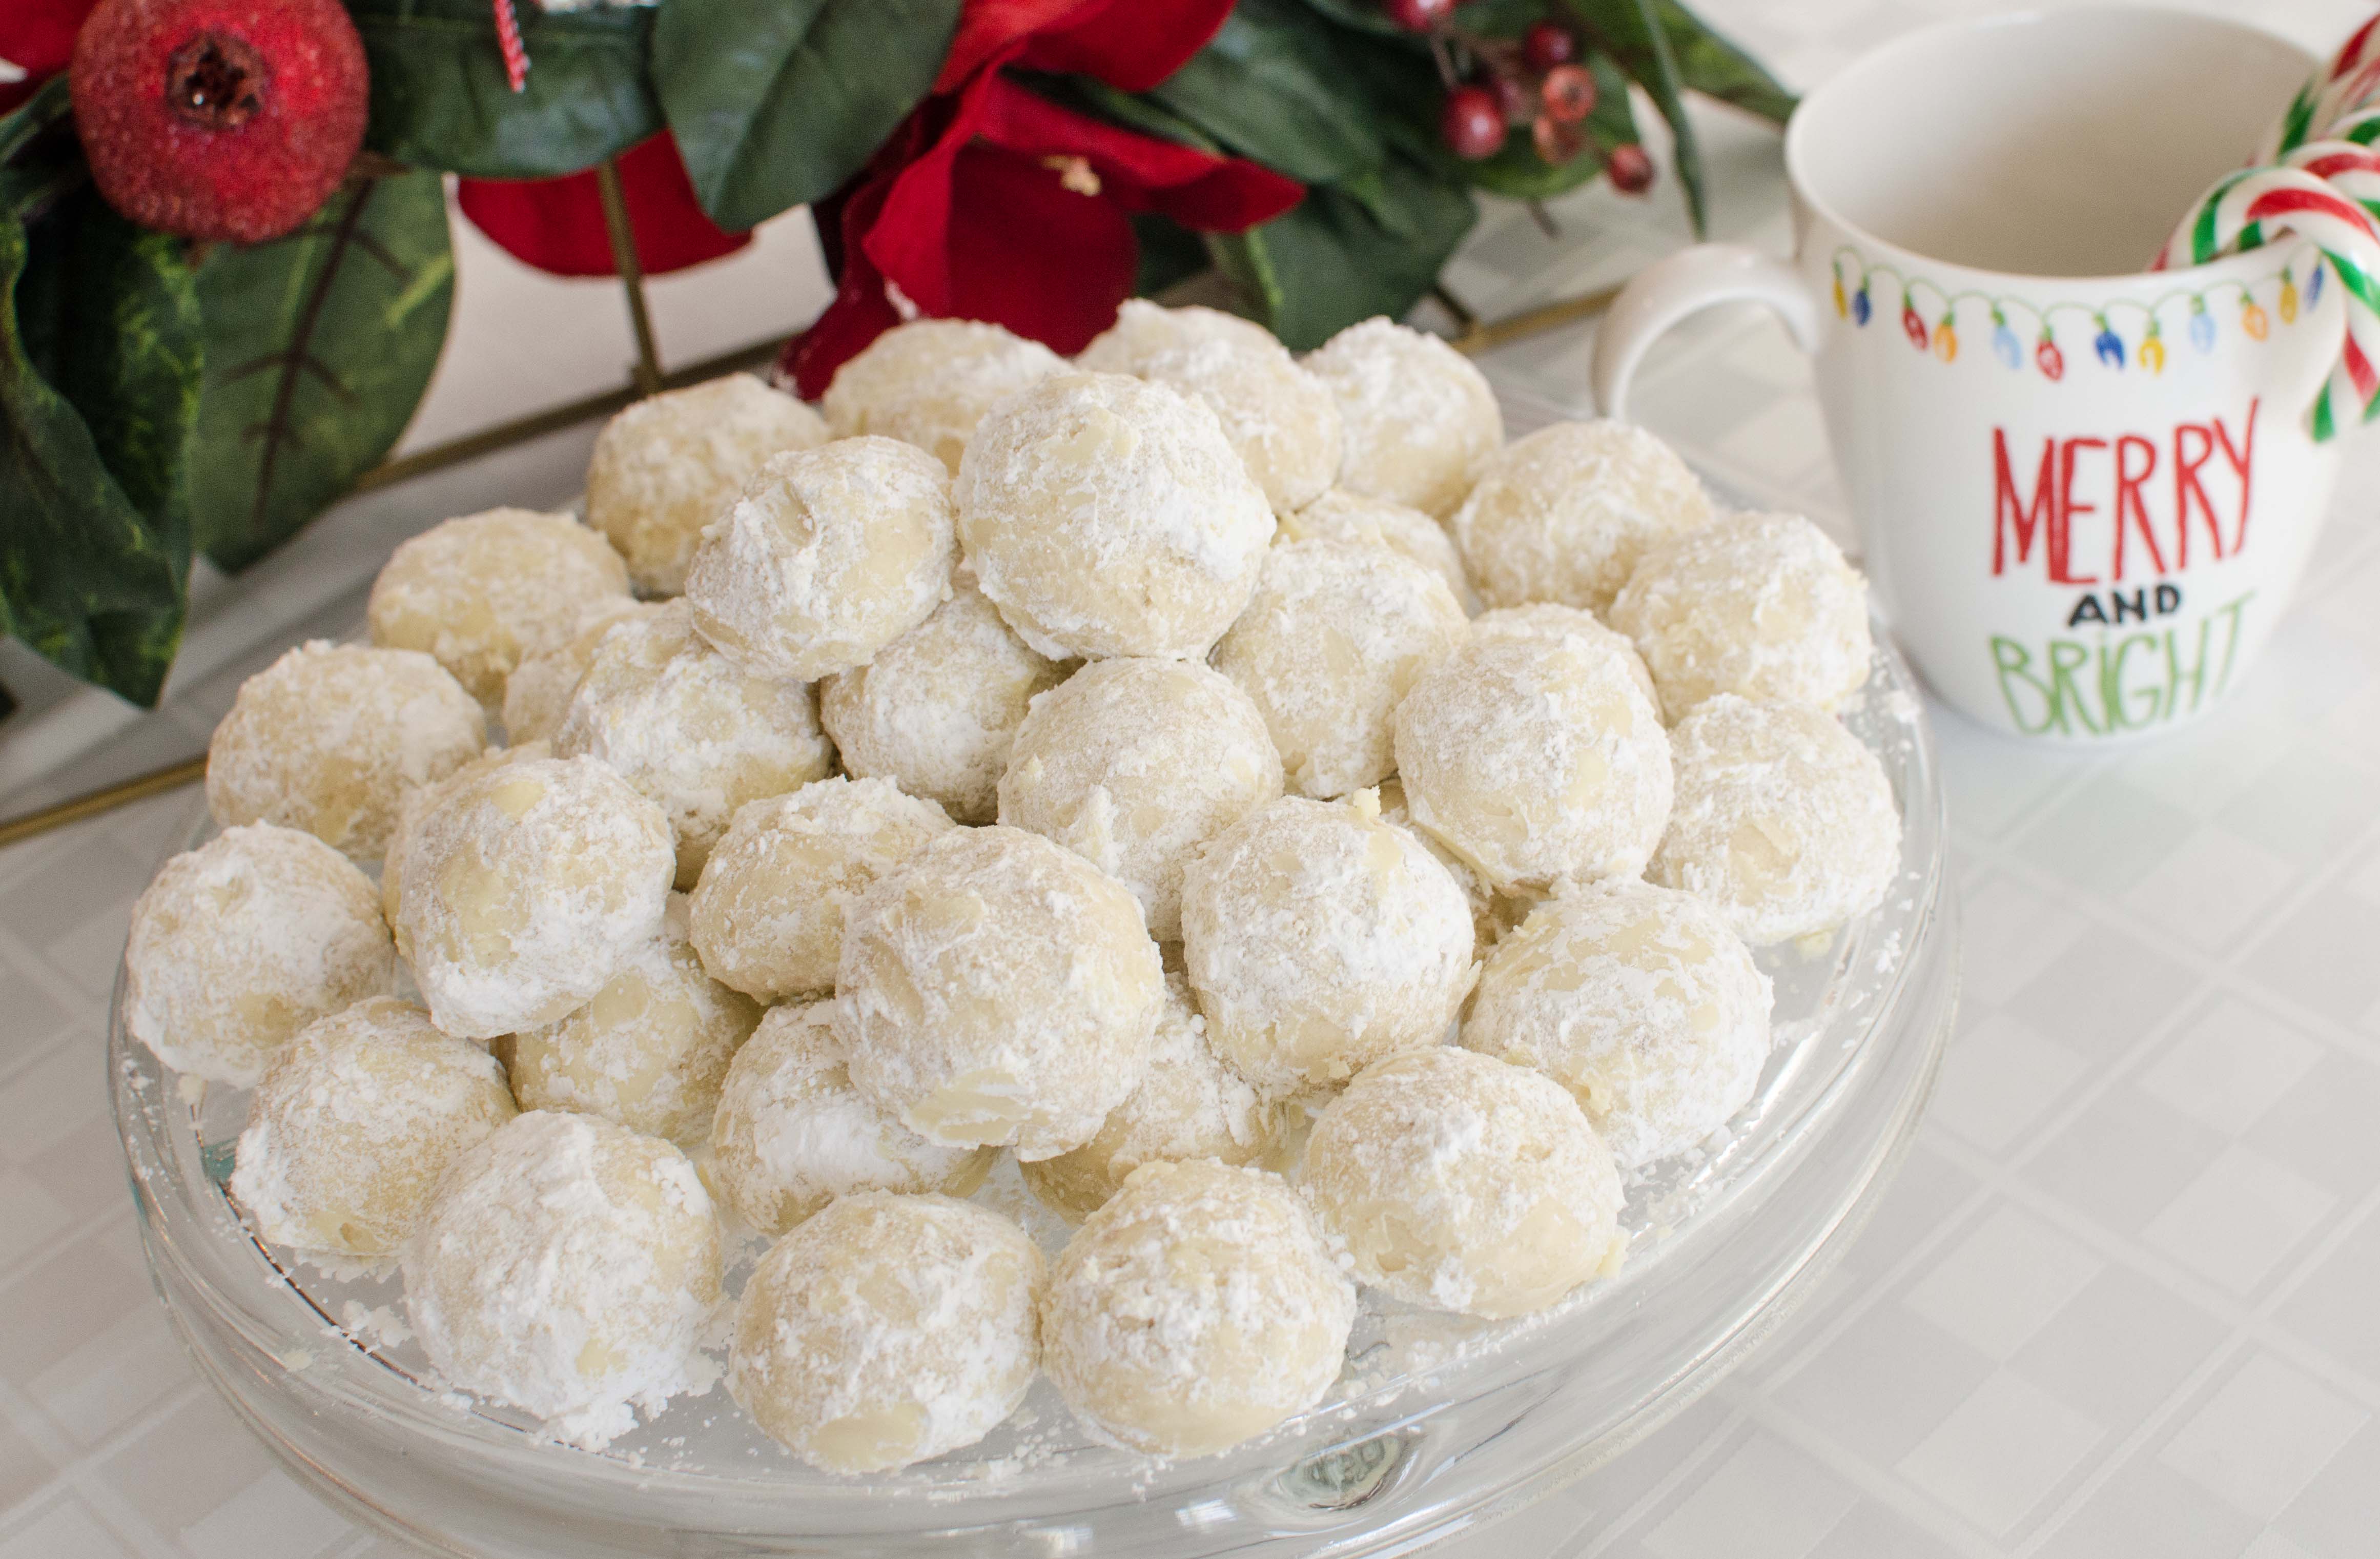
One of the most common tradition of every American families during the Holiday season, is making cookies ! I am a Filipino, we don’t have snow in the Philippines that’s why we don’t make snowball cookies there. Alright, kidding aside. I was introduce to this tradition when I got married to my husband Steve. On our first holiday together as husband and wife, my mom-in-law, me and Steve made all kinds of cookies that day. One of my favorite is the snowball cookies. Aside that it’s delicious, it is also easy to make. Before we had kids, I don’t care about it so much. For me at that time, it is just cookies. I didn’t realize that it is more than just having cookies in the house, it is more like a bonding that you do with your family during the holidays. It didn’t sink in to me yet until I have kids myself and I want to continue that tradition to them. I think it’s really cool. We really enjoyed this bonding together as a family. Especially, when Steve is the one leading the team on this. He doesn’t really cook or bake cakes, but he can bake good cookies. So today, we are sharing one of our holiday favorites. Snowball cookies with walnuts! If you are allergic to nuts, just omit it and it still tasted good. But, If you want me to be honest with you, I personally prefer with walnuts. Some people used all kinds of nuts, one of the most popular ones are pecans. You can use that one too. I hope you will enjoy this simple recipe as much we do. It is so easy to make and it is such a fun activity to do with the family most especially during the holiday season! A traditional classic holiday cookie that is loved by everyone all over the world. Our family holiday tradition won’t be complete without Snowball cookies ! Shop the Story

